The New World of .NET 8
Blazor originally allowed a choice of either Server or WASM (browser client) rendering, but this was an exclusive choice which applied across an entire application. Many things behave differently depending on where they are running, but there was no ambiguity within a single app. Now that .NET 8 is beginning to support the “Blazor United” concept of mixed rendering modes within an application, including adding a third option to statically pre-render in the style of Razor Pages, different parts of your application may render in different places, and can even switch modes on the fly at runtime!
In mixed mode apps, knowing the current render mode is going to be important for development and debugging scenarios. To make this easy to keep track of, I’ve started using a visual indicator which can be added to components to show the mode they are currently running under.
Determining Modes
The first challenge is how to know what mode is active at any given time. In some cases, explicit rendermode declarations could tell you, but this won’t help in the really problematic scenarios where changes happen at runtime.
Server vs Browser
There could be a few different ways to check for server vs WASM rendering, but here I’m choosing to use a direct check of the OSPlatform, which should explicitly indicate when running in a browser.
RuntimeInformation.IsOSPlatform(OSPlatform.Create("Browser"))
If this is false, I can assume that the code is running on the server side.
Server Pre-rendering
Identifying server-side rendering that is taking place in advance of sending data to the client is less straightforward. In either case code is going to be executing in the same runtime environment with the same dependency injection, etc. The main difference between the two modes is going to be in the state of the current HTTP request. Since Blazor Server uses a persistent connection to send content to the client it will begin the response before the component code executes, which is not the case for pre-rendered content which builds a complete page to return at once. Checking the state of the response can differentiate between those behaviors.
HttpContext?.Response.HasStarted != true
Viewing as a Component
Since I want to display modes live in the browser, I’m going to add a component that I can place anywhere. To use it in WASM components I need to put it into the Client project, which can also be used by the server project that references it. Because I’m using HttpContext for one of my checks I’m going to need to set something up to encapsulate that bit, since HttpContext is available on the server side only. Adding a simple interface that I can inject will let me use different code on client and server.
public interface IPrerenderIndicator
{
    bool IsPreRendering { get; }
}
The component itself includes a styled border to indicate render location using different colors, with optional text, and it can be used either wrapping child content or just as a standalone element. Also included is a static property to completely disable the visual globally.
@using System.Runtime.InteropServices;

@if (EnableVisual)
{
    <div class="render-indicator @CurrentRenderType" title="@CurrentRenderType">
        @if (ShowLabel)
        {
            <h5 class="indicator-label">@CurrentRenderType</h5>
        }
        @if (ChildContent is not null)
        {
            <div class="render-content">
                @ChildContent
            </div>
        }
    </div>
}

@code {
    public const bool Enabled = true;

    [Inject]
    IPrerenderIndicator? PrerenderDetector { get; set; }

    [Parameter]
    public RenderFragment? ChildContent { get; set; }

    [Parameter]
    public bool ShowLabel { get; set; } = false;

    public static bool EnableVisual { get; set; } = false;

    public string CurrentRenderType
    {
        get
        {
            if (PrerenderDetector?.IsPreRendering == true)
            {
                return "Prerender";
            }
            if (RuntimeInformation.IsOSPlatform(OSPlatform.Create("Browser")))
            {
                return "Browser";
            }
            return "Server";
        }
    }
}
The Prerender/Browser/Server selections each have some associated CSS to differentiate the displayed visual:
.render-indicator{
    border: 4px solid;
}

.render-indicator.Prerender{
    border-color: red;
}

.render-indicator.Prerender h5{
    background-color: red;
}

.render-indicator.Browser{
    border-color: green;
}

.render-indicator.Browser h5{
    background-color: green;
}

.render-indicator.Server{
    border-color: orange;
}

.render-indicator.Server h5{
    background-color: orange;
}

.render-content{
    padding: 2px;
}

.indicator-label{
    color: white;
}
Service Setup
To initialize the component dependency injection will need to be configured for the interface created earlier. Because of what it needs to do, different implementations will be required for server and client.
The client implementation for IPrerenderIndicator will just return a fixed value:
public class ClientPrerenderIndicator : IPrerenderIndicator
{
    public bool IsPreRendering => false;
}
In Program.cs in the Client project this needs to be registered and here I can also set the global flag for enabling the visuals since I’ve set up the default state to be off to avoid showing them accidentally.
builder.Services.AddTransient<IPrerenderIndicator, ClientPrerenderIndicator>();
RenderLocation.EnableVisual = RenderLocation.Enabled;
The server implementation uses the HttpContext and here also includes a method to register itself and dependencies:
public class PrerenderIndicator : IPrerenderIndicator
{
    public PrerenderIndicator(IHttpContextAccessor httpContextAccessor)
    {
        HttpContext = httpContextAccessor.HttpContext;
        IsPreRendering = HttpContext?.Response.HasStarted != true;
    }

    public bool IsPreRendering { get; } = false;
    public HttpContext? HttpContext { get; }

    public static IServiceCollection Register(IServiceCollection services)
    {
        services.AddHttpContextAccessor();
        services.AddTransient<IPrerenderIndicator, PrerenderIndicator>();

        return services;
    }
}
And similar registration in the server project’s Program.cs, using the method added above:
PrerenderIndicator.Register(builder.Services);
RenderLocation.EnableVisual = RenderLocation.Enabled;
Now inside any component on client or server side I can just add <RenderLocation /> to show live in real time where it is being rendered. Using the additional options available it can also wrap other content.
<RenderLocation ShowLabel="true">
    <h1>Hello, world!</h1>
</RenderLocation>
How It Looks
Here’s what the component looks like added into some parts of the default WebApp template with both client and server modes enabled. When running live it is common to see components switching between rendering types as the fast initial static rendering gives way to the interactive modes.
Here the Home page is set up to use server rendering with the component wrapping the rest of the page content.

In the Client project’s Counter component the indicator will be shown in orange to represent the initial server rendering and then transition to the browser and show a green indicator:

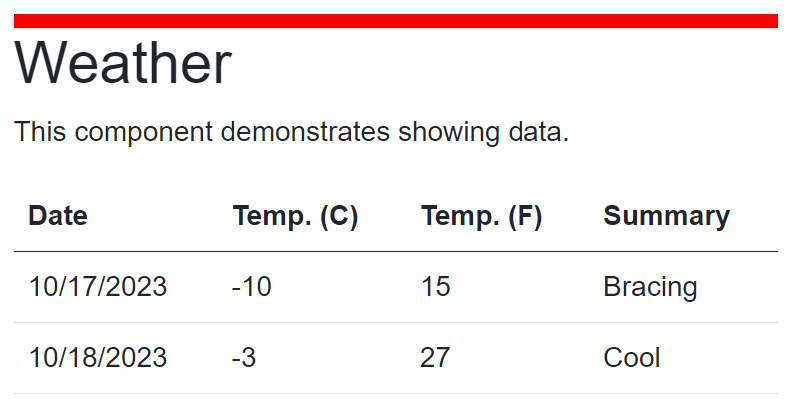
The Weather page uses pre-rendering along with streaming updates to fill in the data as it loads before closing the connection:
Using this setup should help you see what your app is doing, but it’s still going to be possible to shoot yourself in the foot by adding too much dynamic mode switching in inappropriate places. Think carefully about what really needs to use different modes because there are going to be a lot of tricky behaviors that need to be accounted for in this complex system.
Code Versions
Example code is using .NET 8 RC2 with these library versions:
- Microsoft.AspNetCore.Components.WebAssembly 8.0.0-rc.2.23480.2
- Microsoft.AspNetCore.Components.WebAssembly.Server 8.0.0-rc.2.23480.2